

How to Remove a Listing from eBay. If you are an eBay seller, you’ve likely come across situations where you need to remove a listing before it sells. Whether you’ve sold the item elsewhere, realized there was an error in the listing, or simply changed your mind, it’s important to know how to remove a listing from eBay to avoid unnecessary complications. In this guide, we’ll cover step-by-step instructions on how to remove your listing, important factors to consider, and helpful tips on managing your listings more efficiently using eBay listing tools and eBay listing templates.
Tip: Use Frooition’s eBay Tools to easily remove a listing from eBay.
Why You Might Need to Remove a Listing from eBay
Before diving into the process of how to remove a listing from eBay, let’s first explore some common reasons sellers choose to take their listings down:
- The Item is No Longer Available: You may have sold the item through another platform, or it may have become unavailable for other reasons.
- An Error in the Listing: Mistakes in pricing, product descriptions, or images could prompt the need to remove a listing and create a new, corrected one.
- You Want to Re-Evaluate Pricing or Strategy: Sometimes sellers realize they’ve listed an item at the wrong price or need to adjust the selling strategy.
- Inventory Management Issues: You might find that you no longer have the inventory you thought you did.
- Personal Reasons: In some cases, you may change your mind about selling an item or no longer wish to continue the auction.
Whatever your reason, ending eBay listings before they naturally expire is a simple process. Let’s walk through it.
How to Remove a Listing from eBay: A Step-by-Step Guide
eBay allows sellers to remove their listings at any time, but the method depends on whether the item has bids or not. Here’s a comprehensive guide on how to remove a listing from eBay.
Step 1: Log into Your eBay Account
Start by logging into your eBay seller account. This can be done by navigating to eBay’s homepage and entering your username and password.
Step 2: Access Your Selling Dashboard
Once logged in, go to the My eBay section and click on Selling. This will bring you to your seller dashboard, where you can view all active listings. You can easily navigate through your active, sold, and unsold items here.
Step 3: Locate the Listing You Want to Remove
In your seller dashboard, under Active Listings, find the listing you want to end. You can scroll through or use the search function if you have many listings.
Step 4: Select the Option to End the Listing
Once you’ve located the item, click the More Actions dropdown menu next to the listing and select End My Listing Early.
Step 5: Choose a Reason for Ending the Listing
eBay will ask you why you’re removing the listing. You’ll be presented with several options such as:
- The item is no longer available.
- There was an error in the listing.
- You decided not to sell the item.
- The item was lost or broken.
Select the appropriate reason and proceed.
Step 6: Confirm the Removal
Once you’ve selected a reason, eBay will ask you to confirm your choice. Double-check to ensure you’re ending the correct listing, as this action can’t be undone. Once confirmed, the listing will be removed from eBay, and any potential buyers will no longer be able to view or purchase the item.
Special Cases for Ending eBay Listings
There are certain nuances to consider when ending eBay listings. These factors depend on the type of listing and whether or not there are any bids.
Listings with No Bids or Offers
If your item hasn’t received any bids or offers, you can remove the listing at any time without any issues. You can either end it immediately or schedule it to end at a specific time. Removing a listing before it receives any traction can save you from complications like having to cancel bids or deal with buyer inquiries.
Listings with Bids or Offers
If your listing has already received bids, removing it becomes a bit more complicated. eBay imposes stricter rules when ending eBay listings that already have bids:
- If the auction ends within 12 hours and has bids, you cannot end the listing early.
- If the listing ends in more than 12 hours, you can cancel the bids and then remove the listing.
Keep in mind that cancelling bids might frustrate potential buyers, so it’s best to avoid this situation by monitoring your listings and removing them before they receive bids, if necessary.
Managing Listings Efficiently with eBay Listing Tools
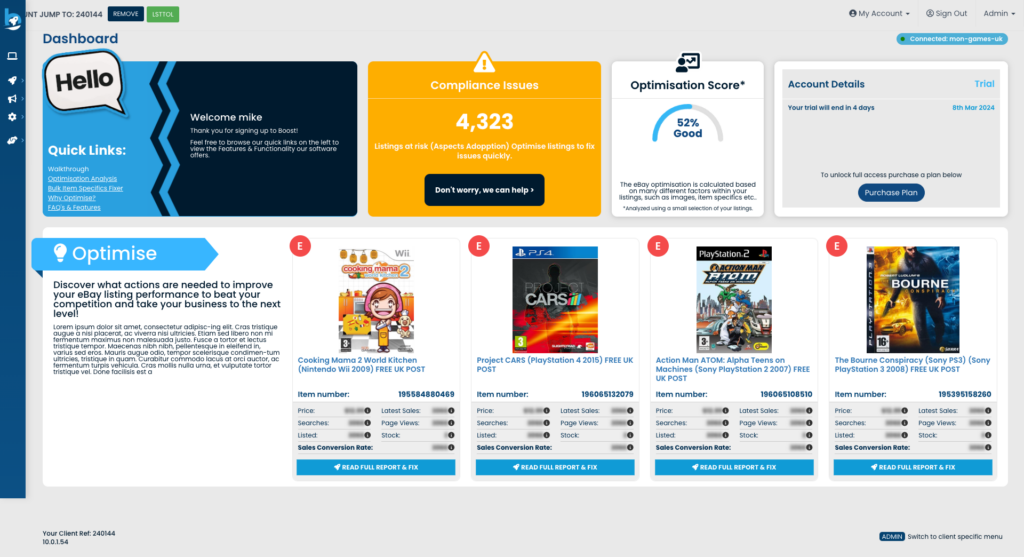
While knowing how to remove a listing from eBay is important, efficient listing management from the start is just as crucial. Frooition provides a range of eBay listing tools to help sellers streamline their processes. For example, Frooition’s eBay software suite offers an overview of all listings, performance insights, quick edit, and bulk edit that allow you to keep tabs on your items.
Bulk Revision and bulk editing tools are widely available with the Frooition eBay software suite and are proven to increase productivity, help improve efficiency, and save eBay sellers time.
Streamline Your Listings with eBay Listing Templates
Another way to prevent errors and reduce the need for removing listings is by using eBay listing templates. These templates allow sellers to create pre-set descriptions, pricing strategies, shipping options, and return policies that can be applied across multiple listings.
By creating and using these templates, sellers can ensure consistency and accuracy in their listings, reducing the chances of needing to take down a listing due to errors or omissions.
Moreover, Frooition’s eBay store and listing templates additional customization options for creating professional-looking eBay listing templates, further improving your workflow as a seller.
Conclusion
Removing a listing from eBay is a straightforward process that can be done in just a few clicks, but it’s important to understand the nuances, especially when your listing has bids. By learning how to remove a listing from eBay properly, you can avoid buyer confusion, maintain a good seller reputation, and better manage your online store.
More importantly, efficient listing management through the use of eBay listing tools and eBay listing templates can help prevent the need for removal altogether. These resources allow you to manage your inventory accurately, create high-quality listings, and monitor their performance closely—ensuring that your eBay selling experience is smooth and profitable from start to finish.


